Rock candy is one of the rare treats that asks you to slow down before it asks you to take a bite. It begins as sugar dissolved in hot water, then spends days quietly changing in a jar. By the end, the sugar has built visible crystals around a stick or string—large enough to inspect, compare, and crunch. The finished candy is pleasing, of course, but the waiting is part of the point. You get to watch a kitchen ingredient organize itself.
That makes rock candy a useful little project for a rainy afternoon, a family science night, or anyone who enjoys a food ritual with a beginning, middle, and reveal. It does not need fancy equipment or a perfectly styled result. It needs a clean jar, a little care around hot syrup, and permission to leave the jar alone. The experiment works because the ordinary messiness of a kitchen becomes a feature: a tiny crystal on a dried stick gives the next crystals somewhere to begin.
This guide explains what is happening, how to make the wait more interesting, and how to turn the result into a small candy tasting. It is not a race to grow the biggest possible crystal. Think of it as a chance to see a familiar ingredient do something surprising.
The strange thing about a clear sugar solution
At room temperature, a glass of water can dissolve only so much table sugar. Add sugar a little at a time and it disappears; keep going and eventually some grains remain at the bottom. The solution has reached its limit, or saturation point. Heat changes the situation. Hot water can hold more dissolved sugar than cooler water can.
That temperature difference is the quiet engine of rock candy. The Exploratorium’s explanation of sugar and crystals describes a hot sugar syrup that becomes supersaturated as it cools: it contains more dissolved sugar than the cooler water can comfortably keep in solution. Supersaturation is not a new ingredient or a special chemical trick. It is a temporary, crowded condition. Sugar molecules have an opportunity to leave the liquid and join one another in an orderly solid pattern.
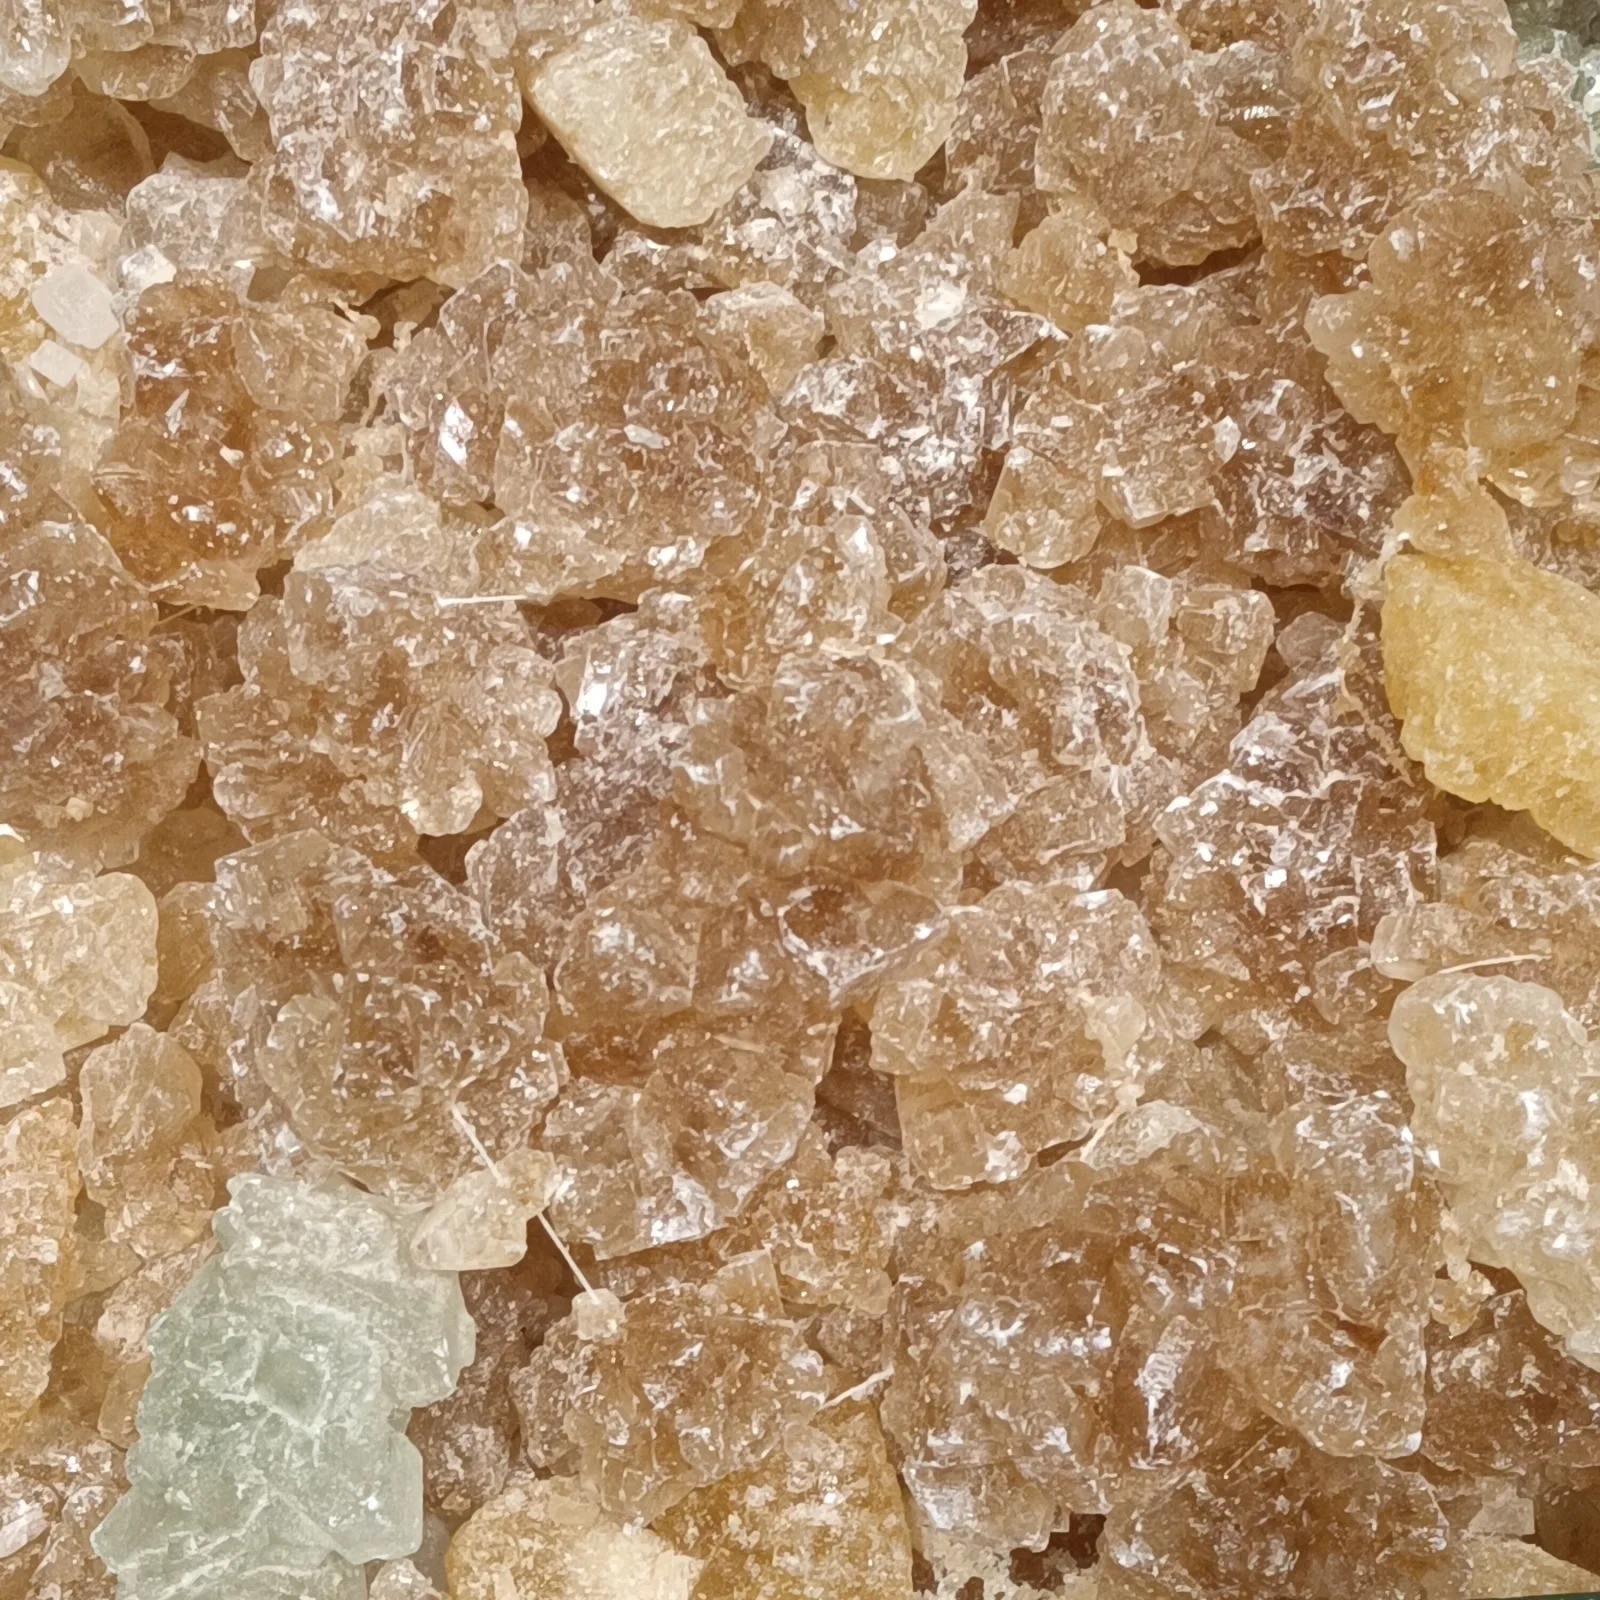
The word “crystal” can make the process sound distant, like something that happens only in a geology case. But table sugar is already crystalline. Rock candy simply gives the crystals time and space to become visible. The American Chemical Society’s candy-making guide notes that the sucrose molecules in a sugar crystal repeat in a three-dimensional arrangement. When many crystals grow together over several days, the result becomes a candy you can hold.
That is why rock candy feels so different from a clear hard candy. Both may start with sugar syrup, but their finished structures are not the same. ACS classifies rock candy as crystalline, while hard candy is a glassy, noncrystalline confection. A lollipop or a jawbreaker does not need to be “better” or “worse” for this comparison to be interesting. They simply freeze sugar into different textures: one is a hard smooth glass, and the other is a collection of visible crystal faces.
Give the crystals a place to start
Crystals do not need a grand invitation, but they do benefit from a starting point. In a rock-candy jar, that starting point is usually a wooden skewer, a cotton string, or a few dry sugar grains. The Exploratorium explains that when a damp string is rolled in sugar and allowed to dry, its first tiny crystals become seed crystals. Later growth gathers around those early points rather than appearing everywhere at once.
This small detail explains several familiar frustrations. A completely smooth, unseeded surface can be slow to show growth. A jar that gets bumped, stirred, or checked every few hours may produce crystals on the bottom or sides instead of on the stick. A dusty or poorly cleaned jar offers extra places for crystals to begin. None of these outcomes means the sugar “failed”; they reveal where the solution found a surface.
That is a much more satisfying way to look at an imperfect batch. If crystals carpet the bottom, the jar has still demonstrated crystallization. If they crowd the string, the seeds did their job. If they form a strange little shelf on one side, record it before you dissolve or eat it. The project is more interesting when it is treated as observation rather than a beauty contest.
For a first attempt, use one jar per stick or string. It is easier to see what happened when separate surfaces are not competing for the same syrup. Keep the stick suspended so it does not touch the jar’s bottom or wall. A clothespin or clip across the jar’s rim is simple and effective. Cover the opening loosely with a clean paper towel or coffee filter so dust stays out while water can still escape.
A patient rock-candy method
The Exploratorium’s rock-candy activity uses four cups of sugar and two cups of water and allows about a week for growth. That is a useful, approachable scale for a home jar. Because boiling syrup can cause serious burns, an adult should handle the stove and the transfer to the jar; the Exploratorium gives the same warning for the activity. Do not taste or touch hot syrup, and keep the work area clear until the jar has cooled.
Here is a calm way to organize the project:
- Prepare the growing surface. Wet a clean wooden skewer or cotton string, roll it in plain granulated sugar, and let it dry completely. The dry coating is the crystal seed. A wooden skewer should be clipped across the top of a tall heat-safe jar; a string can hang from a pencil or skewer.
- Make the syrup with an adult. Bring the water to a boil in a clean saucepan. Add the sugar gradually, stirring until it dissolves before adding more. The goal is a clear, concentrated solution, not caramel color or a candy thermometer milestone.
- Set the jar up carefully. Let the syrup sit briefly so it is no longer actively bubbling, then have the adult pour it into the heat-safe jar. Lower the seeded stick or string into the syrup without touching the bottom or side. Cover the jar loosely and leave it in a stable place.
- Let time do the main work. Do not stir, shake, or move the jar. Check it once a day from the outside. As water slowly evaporates and the solution changes, sugar can collect on the seeds. The Exploratorium estimates about seven days, but growth is not a timed performance; room conditions and the exact setup affect the result.
- Finish and dry. When you are satisfied with the crystals, remove the stick or string with clean hands and let it dry over a plate or parchment. If the jar has formed side crystals, treat them as part of the observation. Do not chip at glass with metal tools.
Avoid adding lots of variables to the first batch. Food coloring or flavoring can be a later experiment, but plain syrup tells you more clearly what the crystals are doing. One controlled change at a time makes the result easier to read. If you do make a second jar, change only one thing: use a string instead of a skewer, add a different seed coating, or position the jar in another undisturbed spot. Label both jars with the start date.
Turn the waiting into the activity
The daily check is where a simple recipe becomes a small laboratory. You do not need magnifiers, worksheets, or a lecture. A piece of tape on the jar and a few written observations are enough. Ask questions that have no required answer: Where did the first crystals appear? Do they look like grains, glass, frost, or tiny cubes? Has the liquid level changed? Did one side of the stick become more crowded?
Try a five-line observation card:
- Day and time
- What changed since yesterday
- Where crystals are growing
- What the solution looks like
- One guess about why the change happened
The last line is important. A guess can be wrong and still be useful. The next day may support it or make you revise it. That is closer to real observation than declaring a result after one glance. Take a photograph from the same distance each day if you want a visual sequence; it is easier to notice gradual growth when the framing stays the same.
If you are doing this with children, let the jobs match the safe parts of the activity. One person can label the jar. Another can record the daily observation. Someone can compare the stick and the jar wall without touching either. The adult’s role is not merely to operate the stove; it is to make the waiting feel intentional. “Nothing happened today” is also an observation, and it can be true for several days before a new cluster becomes obvious.
There is a useful lesson in the false expectation that candy must be immediate. Most sweets are bought, opened, and eaten in minutes. Rock candy makes the time visible. The crystals grow only because water leaves and sugar molecules settle into a pattern over many quiet hours. The wait is not dead space before the treat. It is the mechanism.
Why some candy wants crystals and some does not
Rock candy is a friendly way to learn an idea that shows up throughout confectionery: texture depends partly on how sugar is organized. In rock candy, large crystals are the goal. In fudge, fondant, and other creamy candies, too-large crystals can make the texture feel gritty. In clear hard candy, candy makers try to avoid visible crystallization entirely.
ACS explains the contrast with fudge: stirring a cooling syrup encourages many small crystals to form, so the available sugar is divided among them instead of making a few large crystals. Rock candy does nearly the opposite. It gives crystal growth a limited number of preferred starts and then asks for quiet. The difference is not a mysterious secret ingredient. It is a difference in temperature, movement, seeds, and time.
That comparison gives you a better tasting vocabulary. Instead of calling one sweet “crunchy” and another “smooth,” try describing what your teeth notice first. Does it fracture into sharp pieces? Does it dissolve quickly? Does it resist, then soften? Does it feel powdery, glassy, creamy, or grainy? These are not expert-only words. They are a way to pay attention.
For a low-pressure comparison, choose two or three small candies with clearly different structures. A piece of rock candy is the crystal sample. A plain hard candy is the smooth-glass sample. A soft, crystalline candy such as a simple fondant or fudge can be the fine-crystal sample if you already have one. Keep the portions tiny, drink water between bites, and compare texture before declaring a favorite. The point is discovery, not eating a large amount of sugar at once.
Build a tiny crystal-and-glass tasting
You can make the last day of the project feel like an occasion without turning it into a product haul. Start with the rock candy you made, then add one or two familiar reference pieces. Pearls Candy & Nuts’ hard-candy aisle currently offers hard-candy choices, including assorted jawbreakers and swizzle sticks, that can serve as a contrast to a crystalline piece. Choose only what suits your group and check packaging for ingredients and allergen information when that matters.
Set out three small labeled dishes: crystal, glass, and soft crystal. The labels are prompts, not verdicts. Begin with a close look. Which candy reflects light in faces or edges? Which looks clear or uniformly colored? Then taste one small piece at a time. A simple scorecard can ask:
- What happened on the first bite: crack, crunch, chew, or dissolve?
- Did the texture change as the candy warmed in your mouth?
- Which one made you notice flavor first, and which made you notice texture first?
- Which texture would you want in a movie snack, a tea break, or a party bowl?
Keep the language playful. “Like tiny ice cubes,” “like a smooth window,” or “like snow that learned to chew” are better answers than a forced scientific term. The science has already done its work by giving people something concrete to notice. The tasting gives the experiment an ending that feels social instead of scholastic.
Let the jar tell the story
The best rock-candy batch may not be the most photogenic one. It may be the jar with a crooked cluster, a stick that grew only halfway, or a bottom crust that turned into a conversation about where crystals begin. You started with water and sugar that looked completely ordinary. With heat, a seed surface, and a week of stillness, they made their hidden structure visible.
That is the small pleasure of this project. It turns a kitchen counter into a place where waiting has a result. Keep a note of what happened, share one finished stick if you like, and save the idea for the next time you want an activity that is part treat, part science, and entirely unhurried.